THIS IS A 2023 UPDATE TO PRIOR VERSIONS OFMIKE'S "LET TIME DO THE WORK" BREAD RECIPES POSTED HERE
The ingredients in this sample loaf were weighed on a digital kitchen scale:
16 oz filtered, tepid water
1 tsp Fleishmann's Active Dry Yeast
20 oz King Arthur Bread flour
1 tbs Morton's Kosher salt
Additional 1-2 tbs flour and 1 tbs corn meal for the counter
Here are the steps, including timing and temperatures:
8:15pm Add the 4 ingredients to a 4 qt plastic container, in the order given above.

8:17pm Stir with spoon about 20 turns, until the mixture is shaggy, as shown.

8:20pm Cover the container loosely and place in a quiet place to ferment/rise until at least it is at least 3 qts volume. That can range from 4-12 hours at your convenience.
(In this case we left it overnight, about 7.5 hours at a room temperature of about 62-65° F)
Here it is almost finished rising (proofing) and is about ready to handle:

OVERNIGHT
6:00am Sprinkle 2-3 tbs of flour and 1 tbs of corn meal on a clean counter. Work the dough out of the container gently and tip it out onto the counter.
(This 4-photo sequence is from a different loaf when I had a photographer handy)

6:05am Form the dough into an oval or tubular shape. A flat bench scraper can help at this stage
(I used a plastic divider from my refrigerator door until finally I got a scraper as a gift)

Stretch the tube and fold the ends over themselves, forming a ball.

Set the open ends down on the counter, with the folded part up, and allow to rest 5-10 minutes.

6:15am Repeat the shaping and folding. This process builds up tension in the dough which results in more lift to the loaf as it bakes, but may give also the loaf a slightly oval shape.
6:20am Place the dough into an oiled bowl or floured banneton. Clean up all the flour on the counter with the scraper and sprinkle it on top of the dough.
(A Banneton is a basket made of coiled rattan; it may have a canvas insert as shown here on the left)

Put the dough in a quiet, draft-free place for the second rise. I normally use my second oven for this, and I use the plain basket as a cover for the one holding the dough.

7:00am Place the cast iron Dutch oven and its cover into the oven. Heat oven to 450° F for 20 minutes.
7:20am When the dough has risen sufficiently (60-90 minutes) and the top appears taut, prepare to roll the dough ...

into another identical bowl to get the loose, seam side UP and the taut side DOWN.

7:22am Remove the cast iron Dutch oven pan from the 450° F oven and place on a heat-resistant surface (I use my cooktop burner surface or 3-4 hot pads). Remove the lid and place it nearby on a heat-resistant surface.
7:23am Gently roll the dough into the heated cast iron Dutch oven so the taut side is UP. Shake the pot gently to center the dough in the bottom
(I failed to do that with this sample and the loaf is slightly out of round)

7:24am Immediately place the hot lid onto the Dutch oven pan, and return it to the heated oven.
(It is possible to score the top with a razor blade or cut it with kitchen shears to get an impressive crack, but the technique is troublesome to perfect and a bit dangerous, so I normally don't do it.)
Set a timer for 15 minutes.
7:40am When the time goes off, remove the lid from the Dutch oven -- the loaf should resemble this:

Turn the oven temperature down to 385° F. Close door and set timer for 20 minutes.
8:00am When timer goes off, the loaf will have been in the oven 35-40 minutes. It should be browning and rigid.

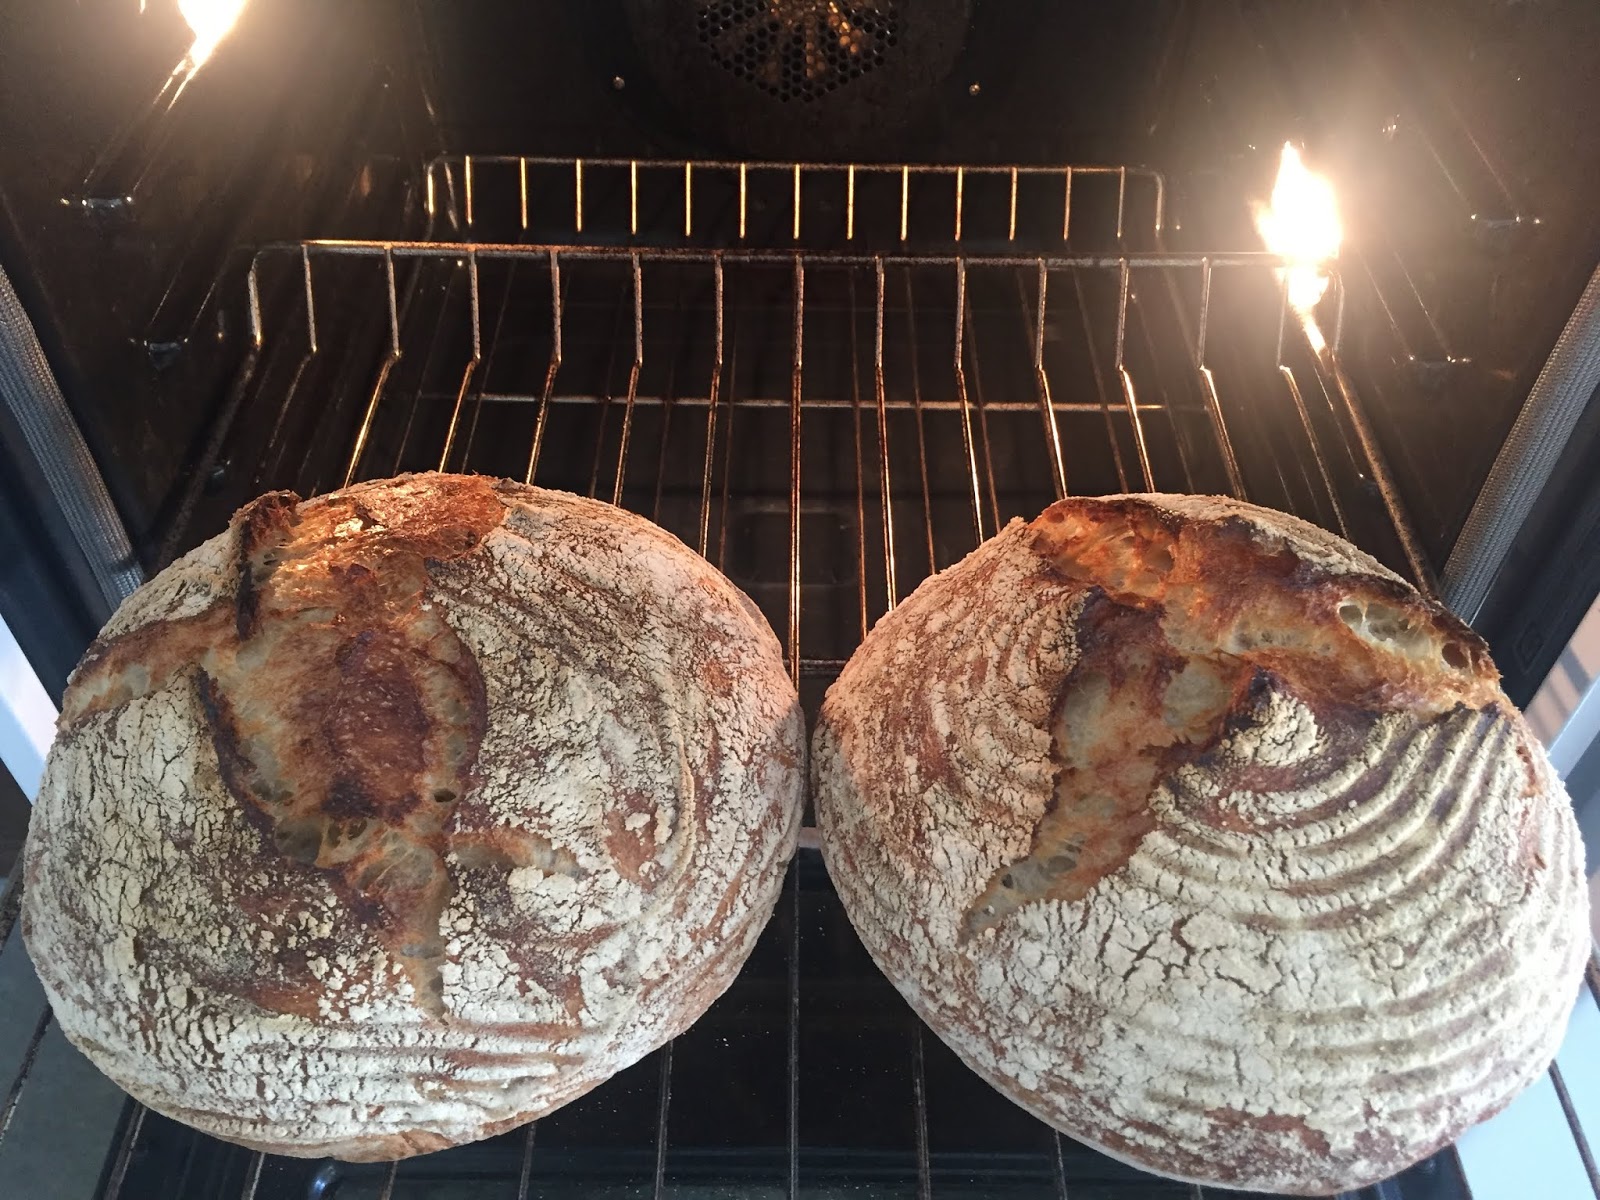
Carefully tip the loaf out of the Dutch oven and place the loaf back on the rack. Set timer for another 20 minutes.
8:30am Check the loaf. Give it a few more minutes until it is darker, harder and lighter (you can tell by lifting it or sliding it on the rack).
If you remove the loaf too soon, the inside will be sticky and fail to dry out.
Remove from the oven and turn the oven OFF.

8:40am Place the loaf on a rack which is raised a few inches at least from the surface under it. The objective now is to let the moisture escape from the loaf as it cools. Leave it there 10-15 minutes.
(Don't put it on a wood table as I did for the photo)
8:50am Put the loaf back in the oven and leave the door slightly open. The additional warmth from the oven will continue drying out the loaf gradually.
If you close the oven door, the loaf will become soft and soggy from moisure which cannot escape.
10:00am The bread is cool and ready to cut. It should crackle and throw off lots of crumbs when you cut into the crust. The top should be crunchy and the center chewy. Add butter and jam if you wish.
The loaf will soften through the course of the day or so that you have before it gets tough. Good eating!